Overview
Setting up All Orders requires the download and installation of two distinct setup packages, one for the server and another for the clients. After installing both packages the client must be connected to the server and then connected to Quickbooks to create the initial company file. This guide will walk through downloading the setup packages, installing them and opening All Orders for the first time to connect with Quickbooks and create your first company file.Instructions for performing upgrades to the software are included in this guide as well. Please refer to Upgrading the Client Components for instructions on downloading & installing updates for All Orders.
Downloading the Installation Packages
-
Registering your company at NumberCruncher.com
If you have already registered on NumberCruncher.com and have your Customer Number, skip this step and continue here.
- Go to the NumberCruncher.com home page and click the download free trial link as pictured below.
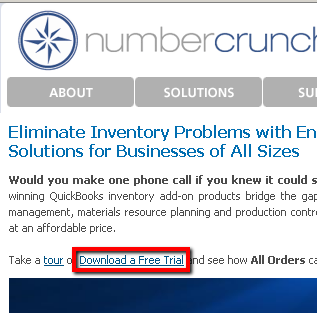
- Click the Register Now link to begin registering.
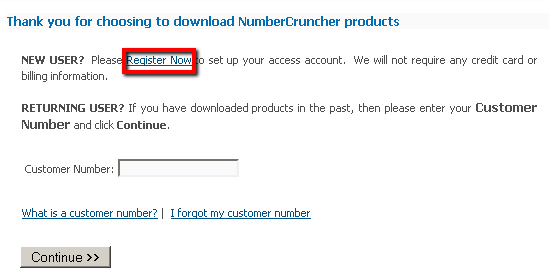
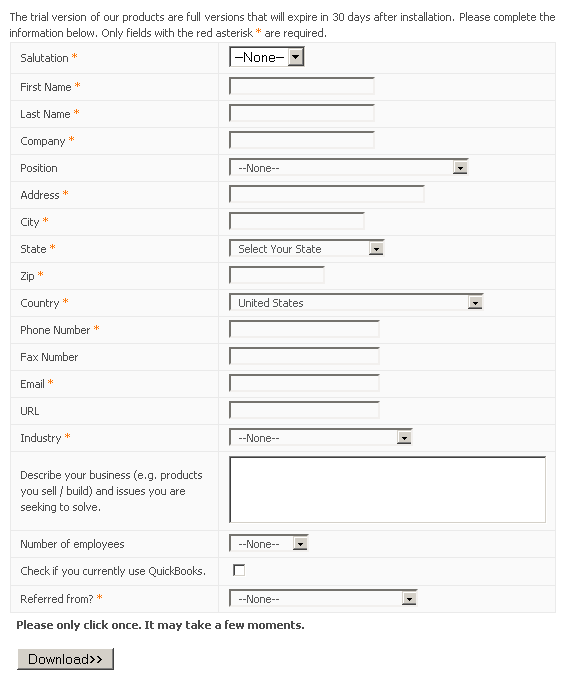
- Fill in all of your information and the click the Download button. An email will be sent to you with detailed information on downloading the setup packages along with your Customer Number and a Trial ID, which is required to activate your trial of the software.
- Go to the NumberCruncher.com home page and click the download free trial link as pictured below.
-
Accessing NumberCruncher.com's Secure Download Page
If you have already registered on NumberCruncher.com and have your Customer Number, you will now be able to access the Secure Downloads Page.
- Locate the email that was sent to you after registering your company at NumberCruncher.com. It will have been sent from sales@numbercruncher.com. The email includes a download link that will bring you directly to the Secure Downloads Page.
- If you cannot find the email but know your Customer Number, go to the NumberCruncher.com home page and click the download free trial link as pictured below.
Enter your Customer Number and click Continue to resend the email.

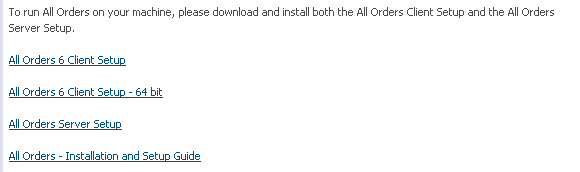
- Once you are at the Secure Download Page, click the links to download the products you want to install. For installing All Orders you will need to download a copy of the All Orders Server Setup and the All Orders Client Setup (64 bit as well if you have workstations running a 64 bit version of Windows). The Server Setup will only need to be installed on the server while the Client Setup will need to be installed on each individual workstation. Be sure to save the Client Setup in a shared folder on your network where other computers will be able to access it. That way you will not need to download it on each workstation and all users can use the same setup file. You can install both setups on the same machine if, for example, you are only going to be using the software on a single workstation and do not have a server or if you are creating a stand alone environment for testing purposes.
Installing the Server Components
-
Running the Server Setup Package For The First Time
- Before installing the Server Components please refer to the System Requirements to ensure the machine meets whats is required to properly run the installation. This package will install a new instance of SQL Server 2005 Express (YOURMACHINENAME\ALLORDERS) and should be installed on you server as it will host the shared All Orders data files. If you are running a peer-to-peer network, this package should be installed on the computer with the most power. Keep in mind that the Server Components cannot be installed on Windows XP Home or Windows Vista Home. If your server already has an instance of SQL Server 2005 or 2008 installed and you know the SQL login credentials you may skip this step and create your All Orders company file on the existing instance.
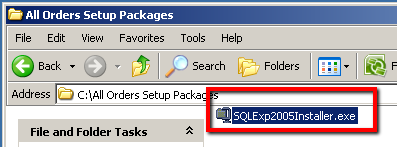
- Locate the All Orders Server Setup file that was previously downloaded. The name if the file is SQLExp2005Installer.exe.
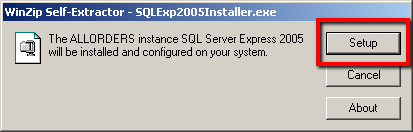
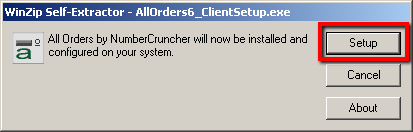
- Double click the installation package to begin the process. Click the Setup button.
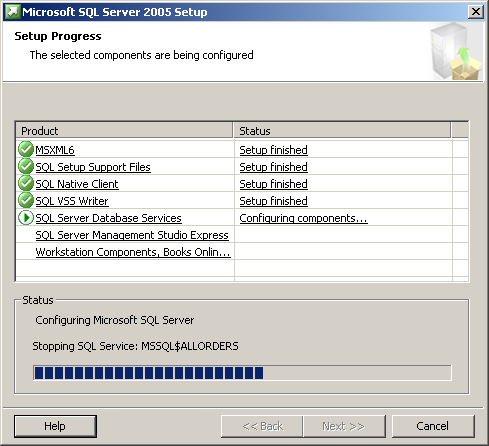
- The installer will automatically run through the entire process and close when it is complete.
Installing & Upgrading the Client Components
-
Running the Client Setup Package For The First Time
- The All Orders Client Setup contains the software and user interface that is used on a day to day basis to work in All Orders. It will be installed on each workstation that an user will need to log into the All Orders system from. It can be installed on the server where the server components were installed as well.
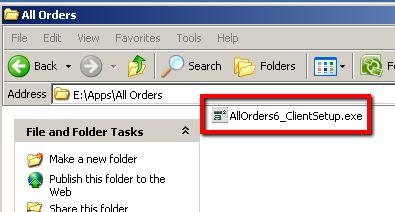
- Locate the All Orders Client Setup file that was previously downloaded. It may be in a shared folder on your network. The name if the file is AllOrders6_ClientSetup.exe.
- Double click the file to begin the installation process. Click the Setup button.
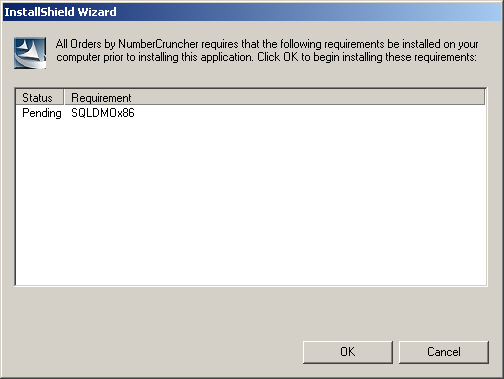
- If the computer is missing some prerequisites you may see the following screen. Click the OK button to proceed and install the prerequisites.
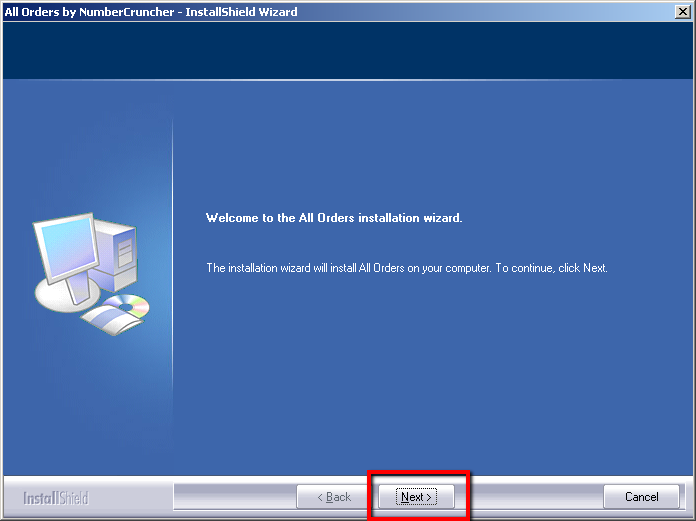
- Click Next.
- Accept the agreement and click Next. Enter then name of your company and click Next. Confirm the directory to install All Orders to (we strongly recommend leaving the default directory of C:\Program Files\NumberCruncher\All Orders) and click Next. Click Install to perform the installation of the client components. Once the installation is finished you should be presented with a screen confirming such. Click the Finish button to close the installer. It may take a moment for all screens that are part of the installer to close.

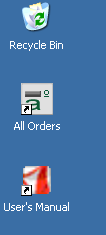
- You should now have All Orders icons on your desktop and are ready to open All Orders for the first time.
-
Upgrading the Client Components
- Go to the Software Updates page at NumberCruncher.com.
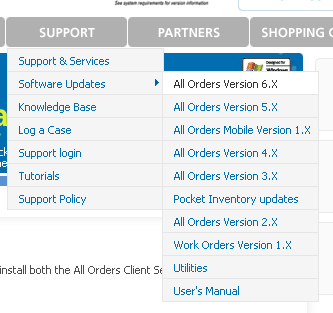
- Check the version that is currently available on website against the version you currently have installed. If the website is showing a new version you are ready for an upgrade!

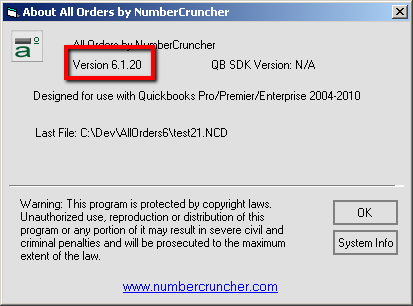
You can check the version you currently have installed by opening All Orders, going to the Help menu and click About.
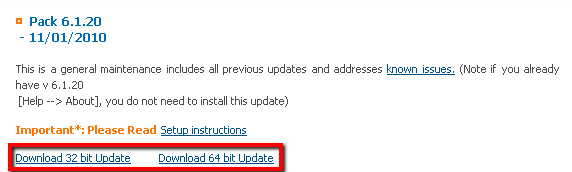
- Click the link for the upgrade you want to install to go to the Upgrade Download page. You may be presented with both 32 and 64 bit versions of the upgrade. Click the upgrade you will like to install to begin the download process. If multiple workstations are running All Orders be sure to download the file to a shared folder so all of your users will be able to access the upgrade file.
- Once it is finished downloading, locate the All Orders Client Setup file. The name if the file is AllOrders6_ClientSetup.exe.
- The following steps will have to be performed on all workstations. The first time that All Orders is opened on a workstation after an upgrade, that workstation will also upgrade the server. Once the server is upgraded, any older versions of All Orders installed on your workstations that have not been upgraded will no longer work and you will see a message letting you know that an upgrade has taken place and the workstation must be upgraded as well.
-
Close out of All Orders if you have it open. Double click the file to begin the installation process. Click the Setup button.
- A message will appear informing you that an upgrade it about to be performed. Click the Yes button.

- Click Next.
- Click Next to perform the upgrade of the client components. Once the upgrade is finished you should be presented with a screen confirming such. Click the Finish button to close the installer. It may take a moment for all screens that are part of the installer to close.
- Go to the Software Updates page at NumberCruncher.com.
-
Setting Up Client Components On Multiple Workstations
To install the client components on multiple workstations simply follow the directions found under Running the Client Setup Package For The First Time for each workstation. Keep in mind that having multiple workstations means the client setup package will be run multiple times, once for each workstation that the software will be used. The file can be downloaded from NumberCruncher.com on each machine but the recommended practice is to have a single shared folder on the local network where the package is stored. Doing this will ensure everyone is installing the same package.
When upgrading to a newer version of the software, the upgrade client setup package must be run on each workstation that All Orders is installed. The first time that All Orders is opened on a workstation after an upgrade, that workstation will also upgrade the server. Once the server is upgraded, any older versions of All Orders that have not been upgraded will no longer work and you will see a message letting you know that an upgrade has taken place and the workstation must be upgraded as well.
Opening All Orders for the first time
-
Creating the All Orders Data File
- All Orders can be opened for the first time from any workstation that has the client components installed. Make sure you are logged into the Quickbooks file you want to integrate with as the admin in single user mode. Double click the All Orders icon that was placed on the desktop to open it up for the first time.
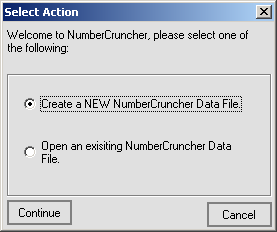
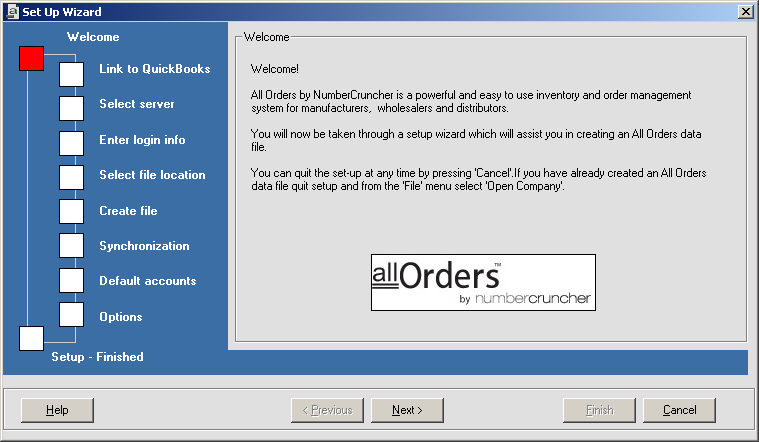
- Once All Orders it open you will be presented with a screen prompting you to either open an existing data file or create an new one. Make sure that Create A NEW NumberCruncher Data File is selected and click Continue.
- After reading the All Orders welcome message click Next.
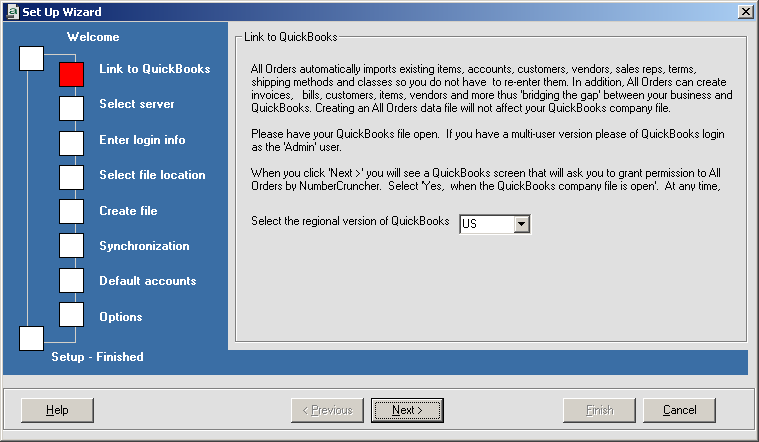
- Select the regional version of Quickbooks you are using and click Next.
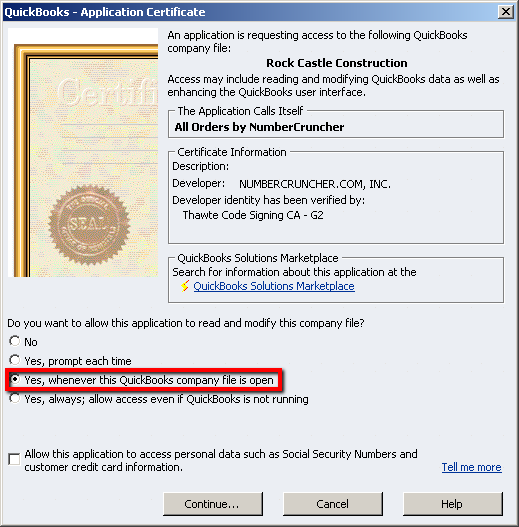
- The wizard will now wait until it has been authorized to connect to Quickbooks. Switch over to Quickbooks and you will notice the following screen. NumberCruncher recommends selecting 'Yes, whenever this company file is open'. Selecting 'No' will prevent you from being able to use All Orders and selecting 'Yes, prompt each time' will make auto synchronizing very difficult. Selecting 'Yes, always; Allow access even if Quickbooks is not running' works as well but keep in mind that communicating with Quickbooks when it is not open is very slow. Allow All Orders to access personal data if you will be entering customer credit card numbers in All Orders. Click Continue in Quickbooks when you are done to allow the All Orders wizard to continue.
- Pick the SQL Server where the All Orders data file will be stored. From the drop down select the server that begins with the name of the machine where you installed the server components (could be the same machine you are running this installation wizard on) followed by '\ALLORDERS'. You can also select any other instance of SQL Server 2005/2008 that is running as long as you know the SQL login and it is accessible across the network. Click Next to continue.

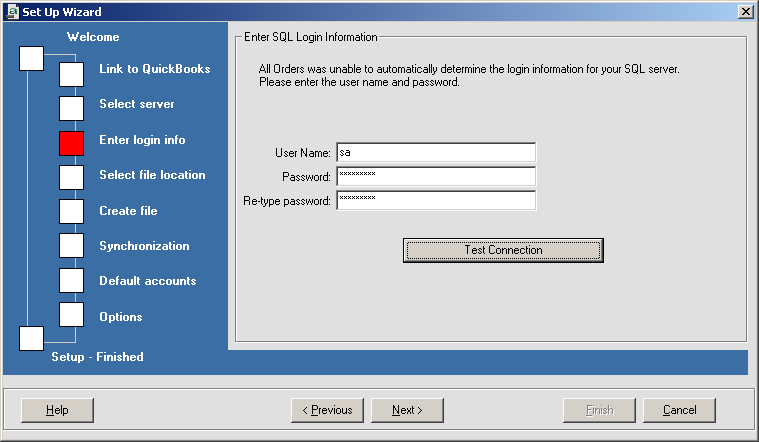
- Enter the SQL user name and password to log in the the instance and make sure you can connect. If you installed the new instance from the All Order Server Setup Package the user name will be sa and the password will be Sysadmin1. Click Test Connection to make sure you entered the credentials correctly. Click Next to continue.
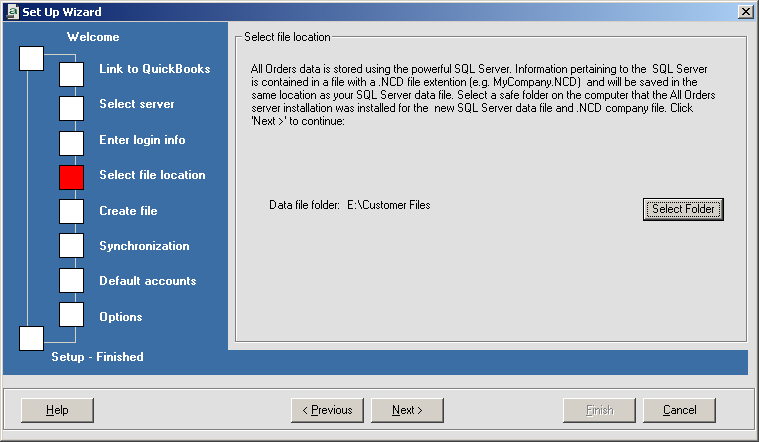
- Select the folder on the SQL Server where you would like to store the data file. By default the data file will be stored in the same place as the Quickbooks data file. This folder must be located on the Data Server where the Server Components were installed. If the file path shown is not on the Data Server, because the Quickbooks file is stored on a different computer, press 'Select Folder' and pick a folder that is located on the Data Server. If you select a different folder, be sure it is shared and accessible to all users that will be using All Orders. The data file CANNOT be stored in the root of a drive (C:\) or within a folder specific to the currently logged in user, such as a desktop or My Documents folder. NumberCruncher strongly recommends the files be stored in a shared folder located in the root of the primary drive of the server, for example C:\All Orders Data\. Later on in the wizard when the data file is created, a [COMPANY_NAME].MDF file and a [COMPANY_NAME].LDF file will be placed in this folder. These two files will contain all of the All Orders data. In addition to placing the data files in the selected folder, a new [COMPANY_NAME].NCD file will be placed in this folder as well. The .NCD file acts much like Quickbooks' .QBW file and will be selected by all users opening All Orders to access the same company file. The .NCD file is actually a pointer file containing all the information All Orders needs to access the Data Files, such as the server that was selected, the user name & passowrd that was entered, and the location the Data Files are stored in. Click Next to continue.
IMPORTANT: If you want to delete All Orders data files do not delete these files. Refer to the All Orders documentation on information on how to delete data files.
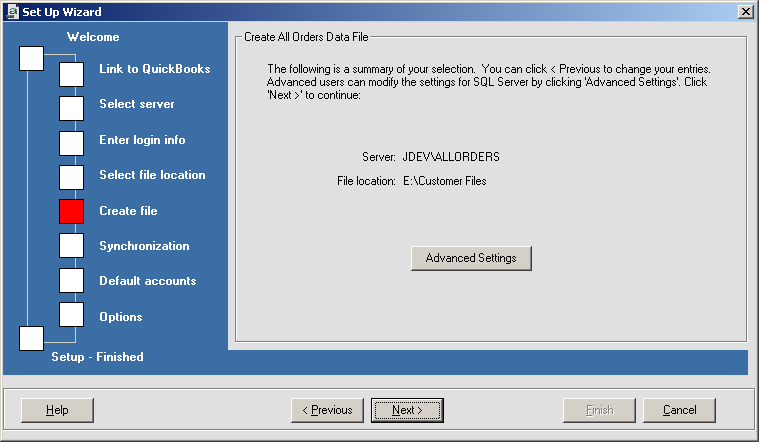
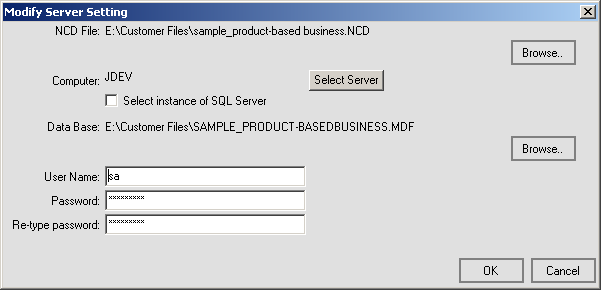
- Review the SQL Server and file location that you have selected. Click Advanced Settings if you want to have additional control over each aspect of the new data file's setup. This option is generally reserved for IT that need to tweak some settings to account for unique network configurations. Click Next to continue.
(the Advanced Settings screen)
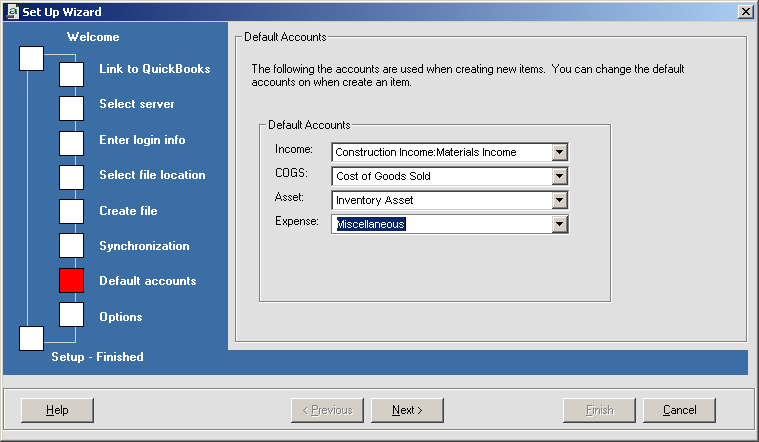
- Behind the scenes All Orders now creates the new data file and then performs the initial synchronization with Quickbooks. Please be patient while it runs as the larger the Quickbooks company file, the longer the synchronization. Future synchronizations will only sync entities that have been modified either in All Orders or Quickbooks and will not take as long as the initial sync. Once the sync is finished you will be prompted to enter the default accounts to be used when creating new items in All Orders. This can always be changed later by selecting Item Groups from the Lists » Profile Lists menu. Click Next to continue.
- Select whether you would like All Orders to synchronize each time you log into the system. In addition an automatic times synchronization can be setup but leaving manual synchronization is recommended until going live with the system. Update other preferences as needed. These settings can always be changed later by selecting Preferences from the Company menu while being logged in as the admin. Click Finish to complete the wizard.

- Any workstation with the All Order Client Components installed will now be able to access the newly created company file. Simply open All Orders, select Open an existing NumberCruncher Data File and select the .NCD file that was created in the shared data file folder by the wizard. If you are not prompted to open a file, you can manually open the .NCD file by selecting Open Company from the File menu.
- All Orders can be opened for the first time from any workstation that has the client components installed. Make sure you are logged into the Quickbooks file you want to integrate with as the admin in single user mode. Double click the All Orders icon that was placed on the desktop to open it up for the first time.
-
Adding Users To All Orders
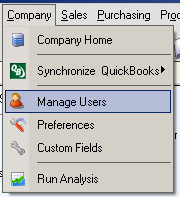
- To add users to All Orders you must be logged in as the admin. By default if you have just created your All Orders Data File or have not added any users yet you will be logged in as the admin. Once logged in as the admin you will be able to select Users from the Company menu.
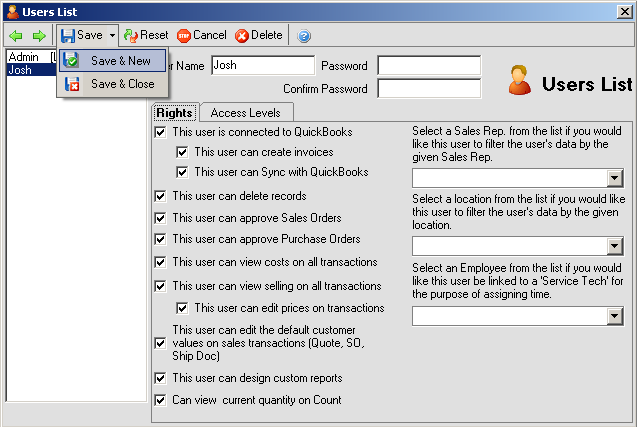
- When the screen first opens the admin user will be selected. You can now set the password for the admin user and then click Save. To add a new user click the drop down arrow next to the Save button and click Save & New. You will now be creating a new user. Enter the new user name, password, and assign which rights you want to give the user. Be sure to update the Access Levels tab as well. Once you are done click Save to save the newly created user. Click the drop down arrow next to the Save button and click Save & Close to exit the screen.
- The new user can open All Orders on their workstation (as long as the Client Components have been installed) and open the .NCD file that was created. The system will prompt them to log in and the new user can now log into All Orders with the user name and password you have assigned.
- To add users to All Orders you must be logged in as the admin. By default if you have just created your All Orders Data File or have not added any users yet you will be logged in as the admin. Once logged in as the admin you will be able to select Users from the Company menu.